Machine Provisioning Process
Each node goes through the same 4-step lifecycle in MAAS.
Step 1 — Enlist
✔ Boot node via PXE (F12 → Network Boot in BIOS)
✔ Machine sends hardware info to MAAS
✔ Node appears in MAAS with status: New
At this point MAAS knows the machine exists but has not inspected it.
Step 2 — Commission
✔ MAAS boots a commissioning image
✔ Hardware detection (CPU, RAM, disks)
✔ Network interface validation
✔ Disk layout detection
After commissioning, status changes to Ready.
Step 3 — Fix Network (Critical)
Before deploying, verify the machine's network configuration in MAAS:
✔ Use ONLY the 10.0.0.0/24 subnet
✔ Remove any IPv6 addresses or subnets
✔ Remove alias interfaces (e.g. enp0s31f6:1)
✔ Keep a single interface with a clean IP
Alias interfaces or IPv6 entries cause deployment failures or incorrect IP assignment.
Step 4 — Deploy
✔ Select Ubuntu 24.04 LTS
✔ (Optional) Add cloud-init user-data
✔ Click Deploy
✔ MAAS installs OS, injects SSH key
✔ Machine becomes Deployed → SSH accessible
Lifecycle Summary
New → Commission → Ready → Deploy → Deployed
Verify All Nodes
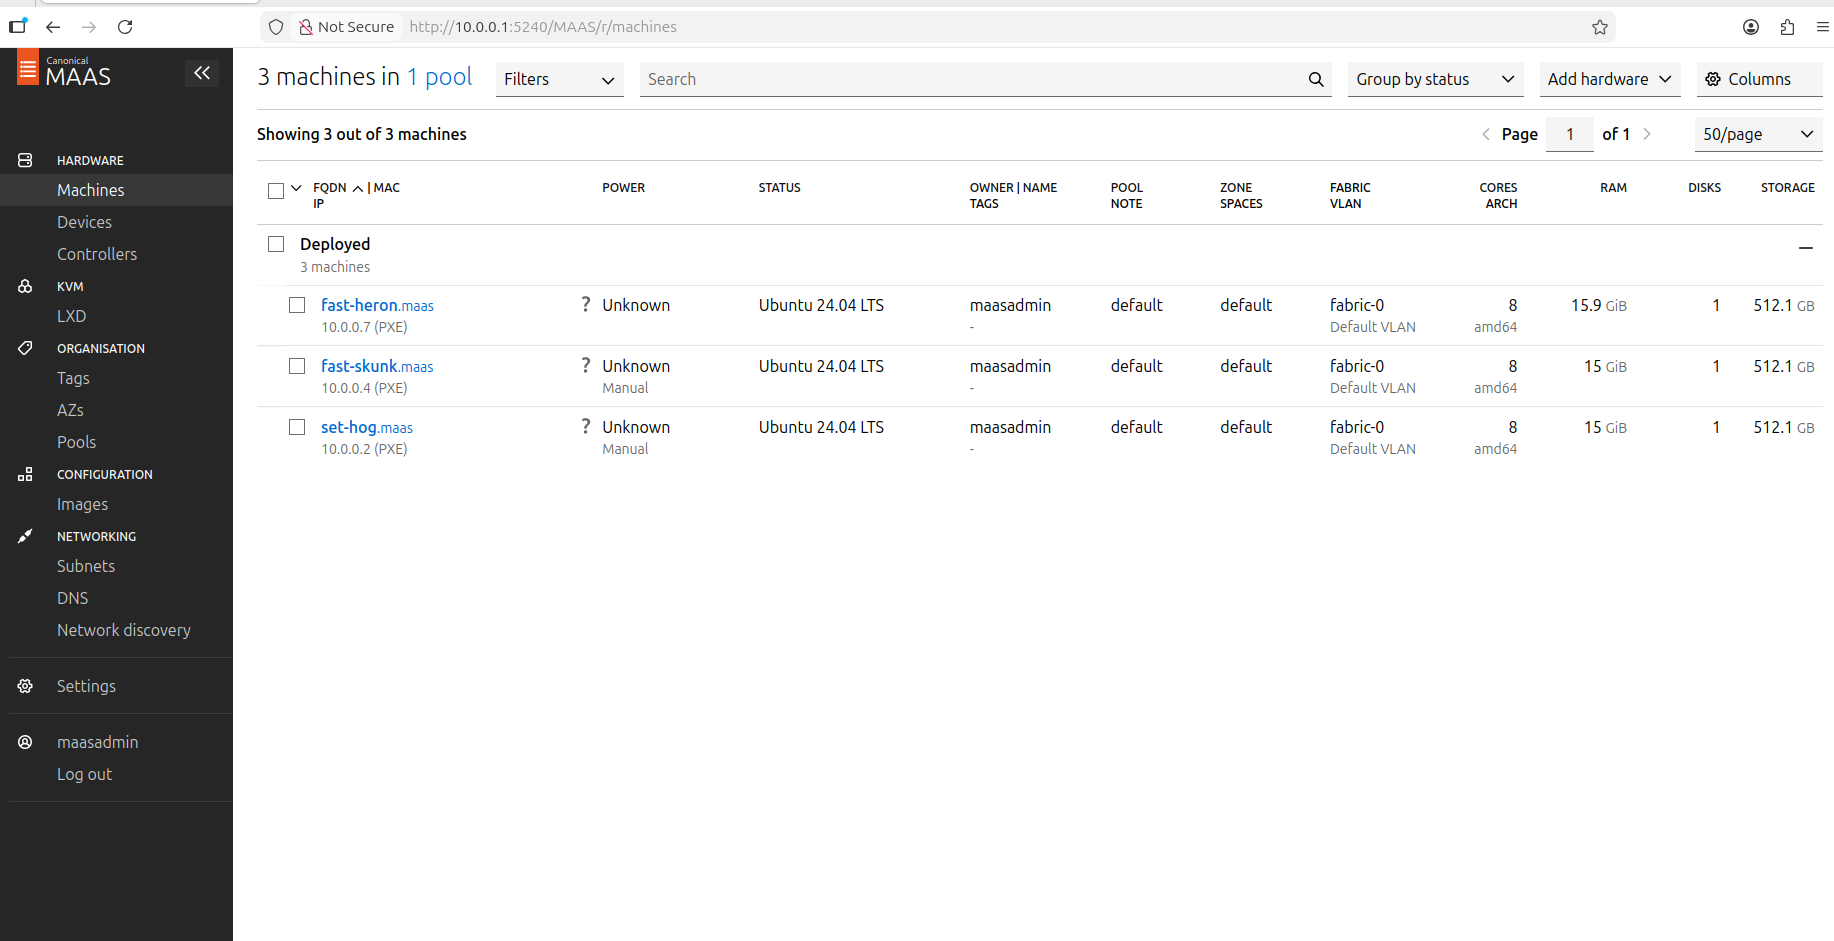
After deployment, the MAAS dashboard should show all 3 machines as Deployed: